Creating a customized signature that is automatically attached to the end of each email you send is useful for many reasons. This article explains how to create signatures, add images to signatures and test signatures.
Creating a Signature
To create a signature, first log into your CloudMail account. Go to Settings > Signatures > Signatures > Add.
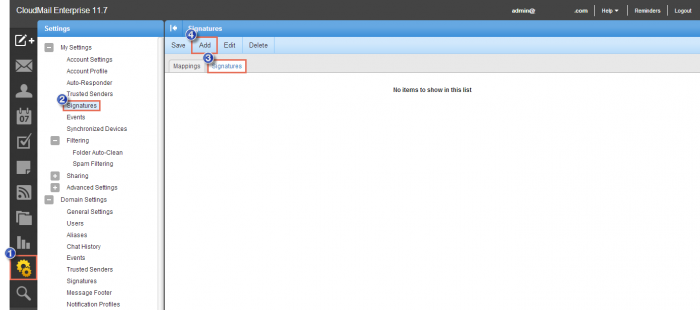
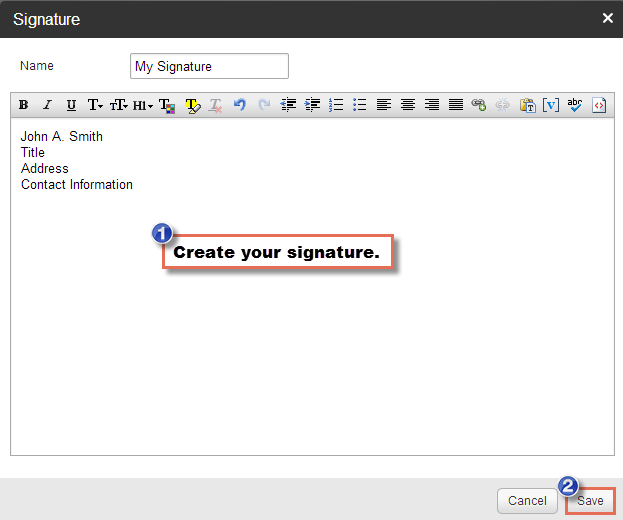
A pop up text box will appear for you to create your signature. Be sure to save your work.
Adding an Image to a Signature
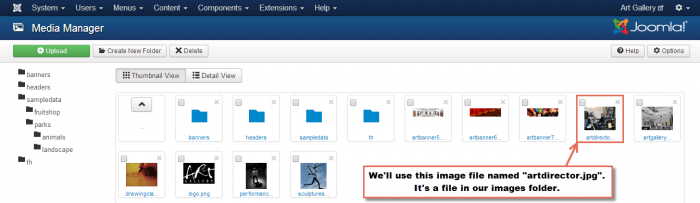
You may want to add a personal image or a company logo to your signature. You'll first have to upload the image to your application so you can link to it through an external URL. In this example, we'll upload an image to the Media Manager in a Joomla site. It will be a file in the images folder.
Next, simply open an existing signature or create a new one. Once the text editor is open, click on the HTML source code button within the editor.
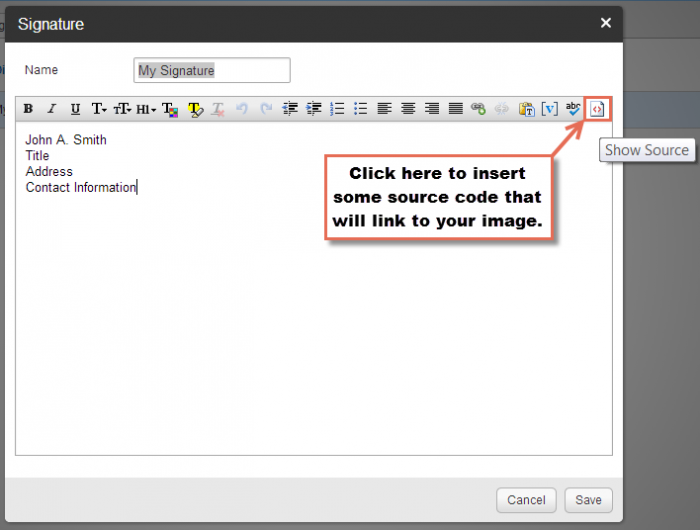
Next, embed the following HTML code:
http://your_domain_name/images/logo_file_name” height=”50” >
For example, we'll add this code into the editor to pull the "artdirector.jpg" file from an external URL.
http://artgallery.cloudaccess.net/images/artdirector.jpg” height=”50” >

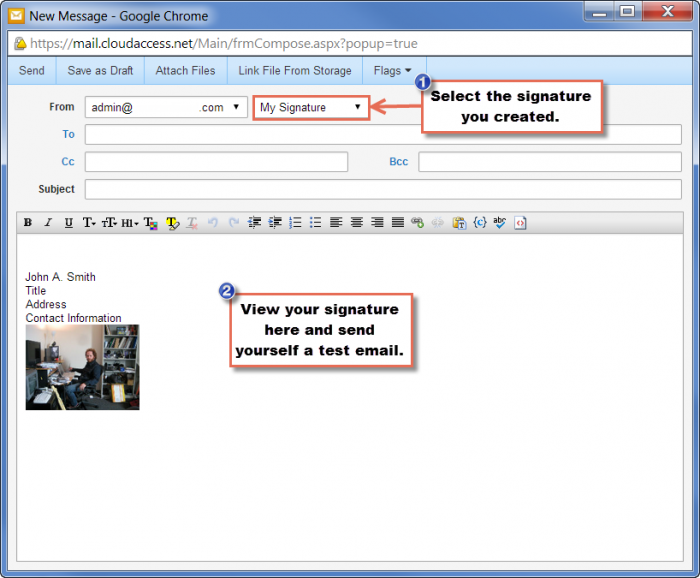
Testing a Signature
To test the signature, simply compose a new email. Select the signature you'd like to use from the drop down menu and the signature should automatically appear. Send a message to yourself if you'd like to test it out more.